5 Perfect Spring Nail Design Ideas: Fresh, Fun & Stunning
Five easy spring nail designs that survive cafe days, walking tours, and suitcase handles, plus a tiny touch-up kit and quick chip fixes for the road.
 ✓
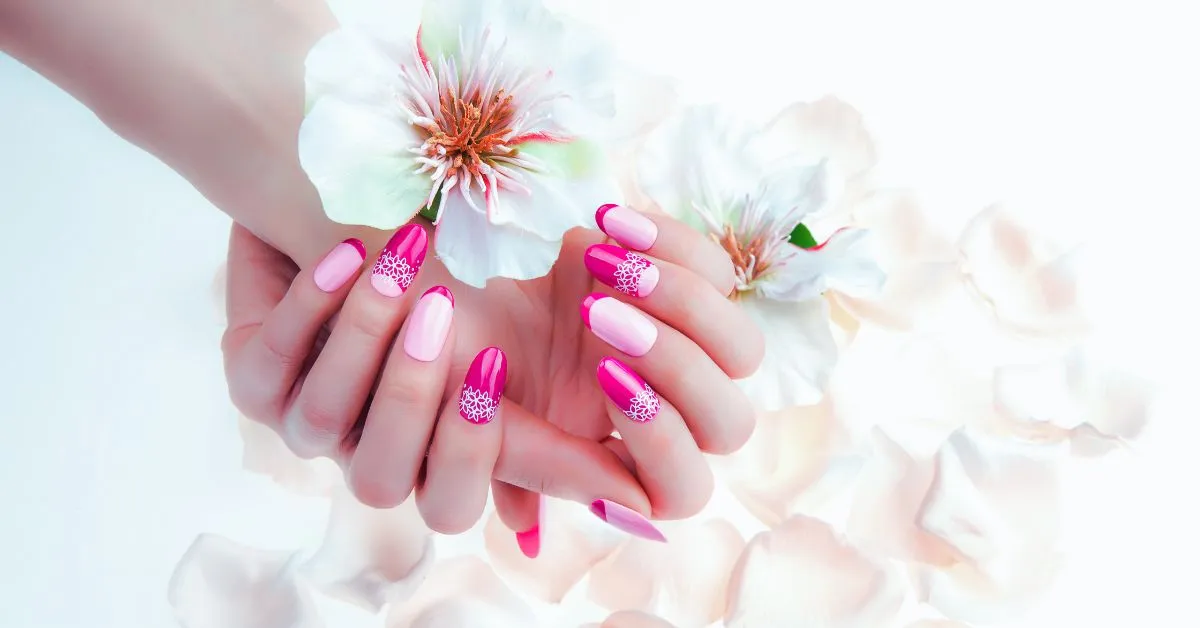
Spring trips and fresh nails should not fight each other. These five easy spring looks hold up through walking tours, cafe stops, and suitcase handles, and every one of them comes with a simple way to fix a chip without hunting for a salon in a city you just arrived in.
5 Perfect Spring Nail Design Ideas: Fresh, Fun & Stunning Travel Looks
Nail art that looks lovely in a photo often falls apart on the first day of a trip. Long shapes catch on zippers, thick designs chip at the edges, and suddenly you are sitting in a cafe trying to hide your hands in every picture. The fix is not to give up on pretty nails. The fix is to choose looks that are built for movement.
There is one rule that makes all five of these ideas travel-friendly. Keep the shape simple, either a short oval or a soft square, and choose one main color plus one small accent. That is the whole rule. The main color carries the look, and the small accent gives it personality without turning your hands into a project you have to protect all day.
A good example is a soft peach base with a single gold dot or one tiny flower on the ring finger. It reads as fresh and spring-like in photos, it works with almost every outfit you packed, and it takes about twenty minutes at a salon. If you paint at home, you can do the base first and add the accent later while your coffee is still brewing.
Here is the short version of all five ideas so you can see them side by side before you book anything.
| Spring look | Main colors | Best for | How easy to fix |
|---|---|---|---|
| Soft base with one gold dot | Peach, cream, soft pink | Cafe mornings and museum days | Very easy |
| Soft floral | Milky pink, sheer white | Cafe photos and sunny walks | Easy |
| Classic French tip | Sheer pink with white or pastel tips | Every travel outfit | Easy |
| Minimal sheer coat | Sage, pale blue, blush, nude | Busy solo days and train rides | Easiest |
| Pastel swirls | Lilac, mint, baby pink | Playful cafe days | Medium |
For a cafe day, a soft nail color goes nicely with a white cotton tee, a light denim jacket, and a small crossbody bag. The whole outfit stays easy, and your hands look tidy when you wrap them around a cup for a photo.
Pack a mini file, a clear topcoat, and a small bottle of cuticle oil in a little pouch that fits in the side pocket of your bag. If you are flying, apply a thicker layer of topcoat the night before you leave, and keep your hands moisturized during the flight. Cabin air is very dry, and dry nails crack more easily than moist ones.
One honest piece of advice: skip the 3D charms and the long stiletto shapes if you plan to open map apps, carry a coffee, or roll a suitcase through a train station. They look fantastic in a single photo, and they are a nuisance in every other moment of the day.
Soft Floral Nails for Cafe Photos and Sunny Walks
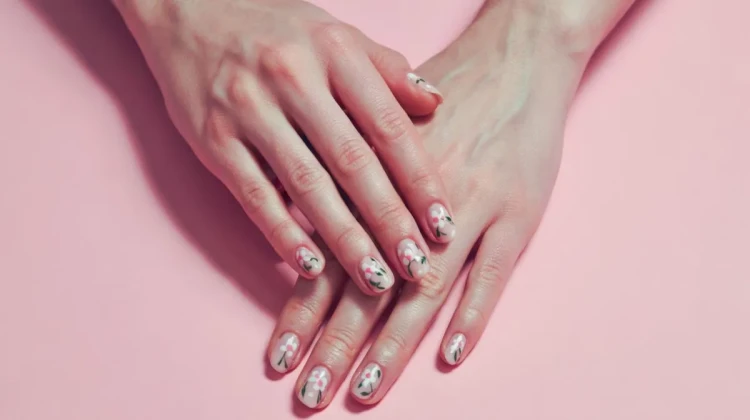
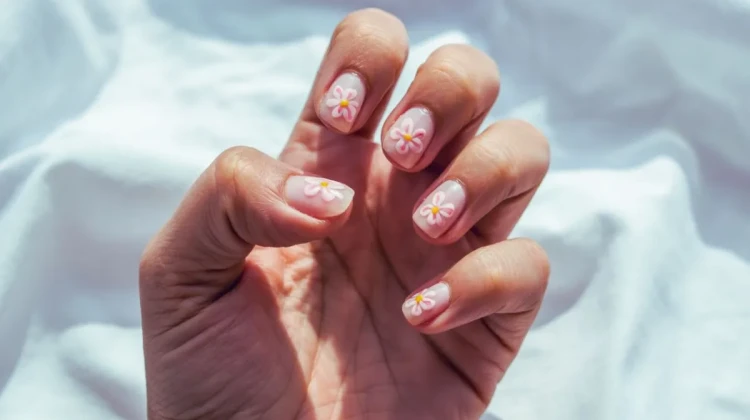
Floral nails are the easiest spring choice for photos and cafe stops. Ask for tiny daisies, small leaves, or abstract petals painted on a sheer pink or milky base. The flowers should stay small, roughly the size of a grain of rice, because small designs hide chips much better than large ones do.
Pair floral nails with a linen shirt, a soft cardigan, and one or two simple gold rings. The rings frame your hands in photos without pulling attention away from the design, and they add a little warmth to the look on cool spring mornings.
Weather matters more than most people expect. If you are traveling somewhere humid, ask for a gel topcoat or a matte finish, because both hold up better than a thin glossy coat in warm, sticky air. A matte finish also looks lovely with linen and cotton, and it quietly hides small smudges while you are walking around.
If you are doing these at home, you do not need fancy tools. A dotting tool works well for petals, and a toothpick works nearly as well. Dip it into the polish, press gently onto the nail, and let each petal dry for a moment before you add the next one. Rushing this step is what makes home floral designs look blobby.
On rainy days, add a clear topcoat in the morning and skip heavy hand cream right before you take photos. Cream leaves a slight shine that shows up on camera, and it can soften fresh polish if you apply it too soon after painting.
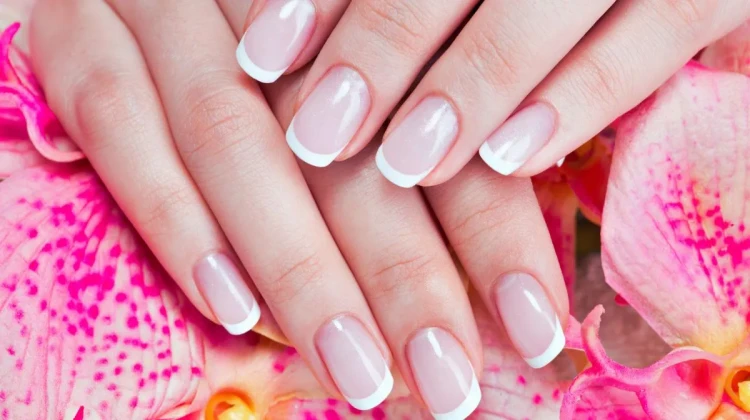
Classic French Tips That Match Every Travel Outfit
French tips are clean, and they match almost any outfit you pack. Choose a thin white or cream tip on a sheer pink base, or try pastel tips in mint, lavender, or baby blue for a softer spring feel. For travel, short square or short oval nails are the safest choice because they do not catch on straps, pockets, or the lining of your bag.
This look pairs well with a striped tee, white sneakers, and a light trench coat for city walks. It is the kind of manicure that looks just as good with a museum outfit as it does with a casual dinner outfit, so you never have to think about whether your hands match your clothes.
Pack a clear topcoat so you can refresh the tip line every few days. A thin layer over the tips keeps the white edge crisp, and it stops small chips from spreading into the pink base underneath.
If your nails grow quickly, a thin tip looks neat for much longer than a thick one. A thick tip starts to look uneven within a week, while a thin tip still reads as clean and deliberate after ten days on the road.
One honest piece of advice: skip very long tips if you will be typing on a laptop, tapping a transit card, or handling a camera. Long tips make all three of those things harder, and they chip faster because they take more of the daily wear.
Minimal Spring Nails for Busy Solo Days
Minimal spring nails are perfect for busy solo days when you are moving from a cafe to a market to a train platform. Think one sheer coat, a tiny line near the tip, a single dot, or a negative-space design that leaves most of the nail bare. These looks take less time to paint and far less time to fix when something goes wrong.
The best colors for this style are soft sage, pale blue, blush, and warm nude. They look calm and clean, and they do not clash with whatever you happen to be wearing that day, which matters when you are packing light and repeating outfits.
Pair minimal nails with a plain white tee, loose trousers, and a canvas tote for a coffee-and-museum day. Nothing about the outfit competes with your hands, and the whole look stays comfortable for hours of walking on hard city streets.
For this style, pack cuticle oil and a nail buffer instead of a full polish kit. A buffer smooths a rough edge in seconds, and cuticle oil keeps the skin around your nails from looking dry in close-up photos.
If you chip one nail, you do not need to redo the whole hand. Buff the edge gently until it feels smooth, then paint one thin layer of clear topcoat over the whole nail. It takes under a minute, and nobody will notice the difference.
This is the lowest-stress option for long walks and train rides, and it is the one most travelers reach for when they know they will be out from morning until dark.
Pastel Swirl Nails: Playful, Pretty, and Easy to Touch Up
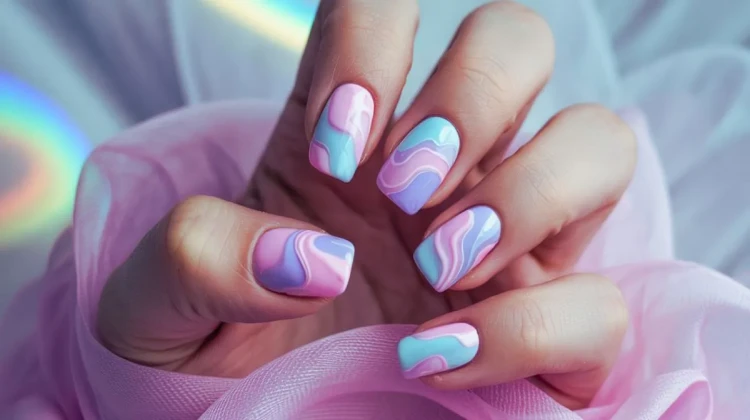
Pastel swirls add fun without being fussy. Choose two or three soft shades such as lilac, mint, and baby pink, and keep the swirls on two or three nails only. The rest of the hand can stay plain, which makes the design look deliberate instead of crowded.
Ask for a glossy or satin topcoat, and let the swirls stay thin. Thin curves look elegant on short nails, and they are much easier to touch up later than thick, heavy lines.
Pair pastel swirls with a light cardigan, mom jeans, and white sneakers for a relaxed cafe day. This combination works nicely in soft, bright coffee shops, where gentle colors and simple lines show up well in window light.
Pack a clear topcoat and a small brush for touch-ups. When a swirl starts to lift at the edge, press it down gently with a clean finger, then seal it with a thin layer of topcoat and let it dry fully before you pick up your cup.
If you are in a dry climate, use a cuticle balm every evening to keep the design looking fresh. Dry skin around the nails makes even a very neat manicure look tired by the third day.
One honest piece of advice: swirls can look messy if the lines are too thick, so ask for thin, simple curves and stop at two or three nails. More than that and the design starts to feel busy instead of playful.
How to Keep Your Spring Nails Looking Fresh on the Road
Keeping your nails neat on a trip comes down to a very small kit and a couple of easy habits. You do not need a full polish collection, and you do not need to find a salon. You need four or five small things and about three minutes every few days.
What to Pack in Your Tiny Nail Pouch
- A mini nail file helps you smooth a rough edge in seconds.
- A clear topcoat lets you seal chips and bring back the shine.
- Cuticle oil or a small cuticle balm keeps the skin around your nails soft.
- A few alcohol wipes clean the nail before you add a new layer of topcoat.
- One small brush is useful if you wear swirls or floral designs.
Use the topcoat every two to three days, and wipe the nail with an alcohol wipe first so the new layer actually sticks. Wear gloves when you hold a cold drink or when you clean, because both of those dry out your nails quickly. Keep your nails short so they do not snag on straps, zippers, or the lining of your bag. At cafes, avoid opening bottles with your nails, and use a bottle opener or a key instead.
If you do get a chip, the fix is simple. File the rough edge flat, wipe the nail clean, and paint one thin layer of topcoat over the whole nail. If an edge has lifted but has not broken, a tiny drop of clear polish can seal it back down. Let it dry for a full minute before you touch anything, which is a good excuse to sit and finish your coffee.
Treat your nails the way you treat your travel clothes. Choose a few simple, sturdy pieces, look after them along the way, and save the fancy, fragile things for when you are home with time to spare.
A Quick Fix Table for Common Problems
| Problem | Quick fix | Time needed |
|---|---|---|
| A chip on one nail | File the edge, then add a clear topcoat | About one minute |
| A lifted edge | Press it down and seal it with clear polish | About two minutes |
| Dry, rough cuticles | Massage in cuticle oil before bed | About one minute |
| Dull, flat-looking polish | Add one thin layer of glossy topcoat | About three minutes |
| A broken nail on the road | File it short and match the shape on the other hand | About five minutes |
Two small habits also make a real difference. First, keep a hand cream in your day bag and use it after you wash your hands, because soap and cold air dry out your nails fast. Second, if you are choosing between gel and regular polish before a trip, remember that gel lasts longer but is harder to fix on your own, while regular polish chips sooner but takes seconds to repair.
If you are flying out early in the morning, paint your topcoat the night before and let it dry completely while you sleep. Fresh topcoat plus dry cabin air is a rough combination, and a fully dried coat handles the flight far better than one that is still setting.
A Few Last Notes Before Your Next Trip
Spring nail designs do not have to be complicated to look good. A soft peach base with one gold dot, a few tiny daisies, a thin French tip, a bare-looking minimal coat, or two soft pastel swirls will all photograph well and survive a full day of walking.
Choose your look based on what you will actually be doing. If your trip is mostly cafes, museums, and slow mornings, you can be a little more playful. If you have long walking days, train rides, and a suitcase to manage, keep it simple and pack the topcoat.
Finally, remember that nobody notices a small chip as much as you do. A tidy shape and a fresh topcoat do most of the work, and the rest is just practice. Bring the tiny pouch, use it every few days, and spend your trip looking at the city instead of at your hands.
Frequently asked questions
✓ Kristina Mate
Founder & Lead Travel Editor · TravelStyleMate
Kristina is the founder and lead editor of TravelStyleMate. Over the past 8 years, she has explored 35+ countries across Europe, Asia, and the Americas—traveling almost exclusively with a single 40L carry-on bag. A dedicated solo traveler, she specializes in cobblestone-tested footwear, minimalist capsule packing formulas, and realistic transit logistics. Every packing rule, walking shoe, and itinerary on TravelStyleMate is personally tested on actual trips with real luggage constraints.
Testing Guarantee: Every packing rule, walking shoe, and transit route is personally tested with real luggage constraints. No paid rankings, no untouched gear, no AI fluff.
Related guides
What to Do on a Rainy Day Traveling Alone: Cozy Cafes and Good Books
Turn a rainy day alone into the best day of your trip. Find a cozy cafe, pack a tiny rain kit, and stay dry with simple tips that really work.
Easy Journal Prompts to Write Down During Your Morning Coffee
Turn a quiet morning coffee on your solo trip into a memory you can keep. Simple journal prompts, easy clothing tips, and a routine that takes ten minutes.
How to Beat the Scared Feeling You Get the Day Before a Solo Trip
A day-before scare is normal. Plan your first hour, pack one comfy outfit, keep your bag light, and calm your nerves with a simple checklist.